GEOINFORMATION PRODUCTS
| ENVIRONMENTAL INFORMATICS GEOINFORMATION PRODUCTS |
BROCKMANN CONSULT | |
| BEAM Java Tutorial | ||
| INDEX| SET-UP| EX 1| EX 2| EX 3a| EX 3b| EX 4| OUTLOOK |
How to create a new data product and write it as BEAM-DIMAP format
Create a new class Ex3 in the package org.esa.beam.basics.
If you forgot how to create a new class in IDEA, step back to
exercise 1. This time we start with a new instance
of the Product class directly:
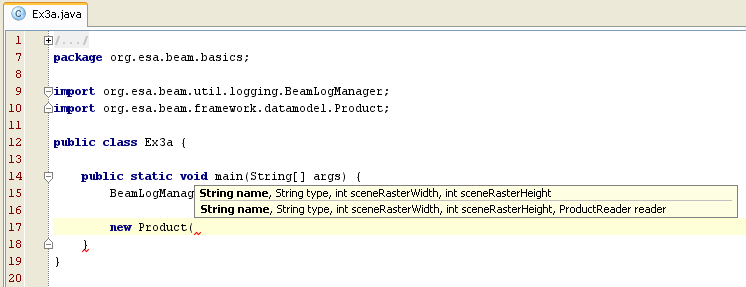
We create a product with a scene raster size of 512 times 512 pixels. We name the product product_ex3a,
set the new product type EX3A. The product instance is assigned to the local vaiable
product:

After we've created the product instance, we now create a new instance of the Band class.
Band also must have a name, a data type and the scene raster dimension. Note that
all bands in a product must have the same raster size as specified in the product's constructor:

We give the band the name bame_ex3a and set its data type to 32-bit floating point. Then the
band is added to the product:

The are a few methods to set the pixel values of the band. We now use the
setRasterData method, this is the direct approach which sets the
entire raster data buffer with a single call:
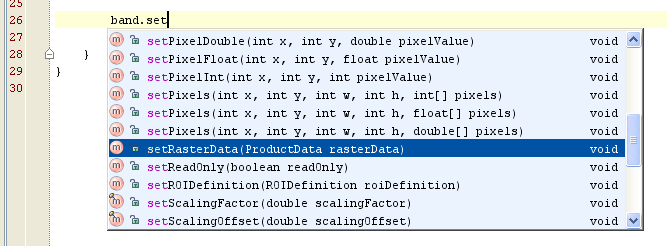
The setRasterData method expect a parameter of type ProductData:

The ProductData class has some handy factory methods, we use the one which
takes an array of 32-bit floating point values:

Since the setRasterData method want to set the entire raster data of
the band, we have to size the array to contain width times hight elements:

The array of floats is the array we want to fill with data, we therefore
introduce the variable pixels (Ctrl+Alt+V) from our statement, so that we can assign
values to each element:

We now loop through all pixels of the raster and set an artificial value.
In this exercise it does not matter which value you assign, I've
simple choosed a formula which will produce an image I understand. From
exercise Exercise 2 we learned that
BEAM uses flat, row-order arrays, that's why I use the expression
i = y * w + x again to compute the raster index:

As you might have expected, the ProductIO class provides a
counterpart to the readProduct method. Not very surprising, its
name is writeProduct. There are a few variants, we use here the
one which takes a product object, a file path and the format name. As file path
we use the product name plus the extension .dim because our
output format will be BEAM-DIMAP:

Again, an IOException has to be handled, and finally with dispose the product
object in order to close underlying I/O streams and to get rid of
allocated resources associated with the product instance:

Run the program (Shift+F10). If no errors occured, the program should have written the BEAM-DIMAP
product product_ex3a.dim to your IDE project directory. Now start VISAT from the start menu.
In VISAT, goto the File menu and select Open. Point the file selection dialog to
your project directory and select the product product_ex3a.dim. Double-click
the band band_ex3a: in the Product View in order to open an image view for it:
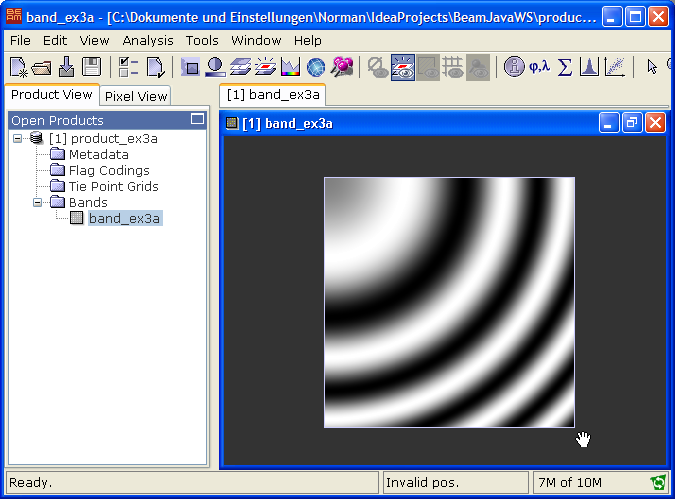
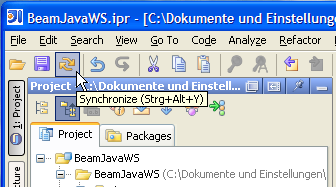
Ok, we must confess this has not much to do with remote sensing, but it shows the minimal product file structure well. We are now going to examine the file structure. After pressing the Synchronize button in IDEA, we can see the product header product_ex3a.dim appearing in the Project pane:
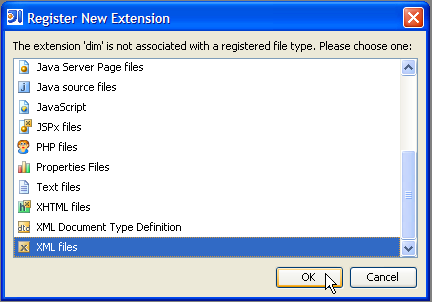
Double-click product_ex3a.dim and assign the type XML-Files in the Register New Extension dialog:
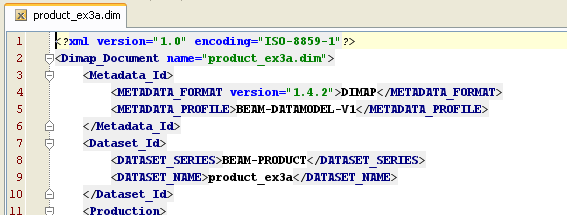
Examine the BEAM-DIMAP XML-header in the editor:
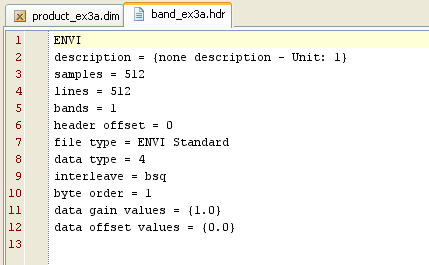
In the Project pane you will also see the data directory product_ex3a.data of the BEAM-DIMAP product. product_ex3a.img contains the binary image data and product_ex3a.hdr the image header in ENVI format:

The ENVI header can also be viewed in the IDE because its a text file:
Exercise 3a is herewith complete so that we now can head over to Exercise 3b.
© 2005 by Brockmann Consult - Need help? Contact beam minus issues at brockmann minus consult dot de