GEOINFORMATION PRODUCTS
| ENVIRONMENTAL INFORMATICS GEOINFORMATION PRODUCTS |
BROCKMANN CONSULT | |
| BEAM Java Tutorial | ||
| INDEX| SET-UP| EX 1| EX 2| EX 3a| EX 3b| EX 4| OUTLOOK |
How to prepare a Java IDE (IntelliJ IDEA) for usage with BEAM
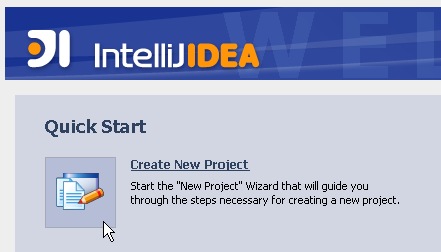
Step 1: From the IDEA welcome screen select Create New Project.
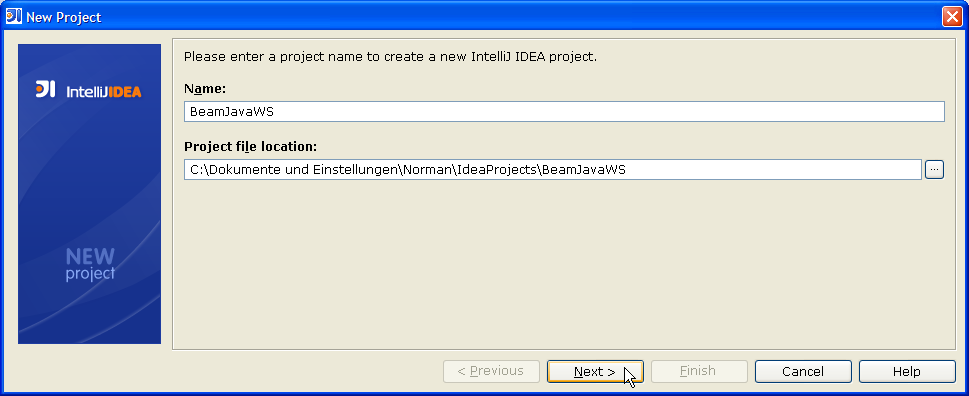
Step 2: In the New Project wizard enter project name BeamJavaWS (= BEAM Java Programming
Workshop)
or similar.
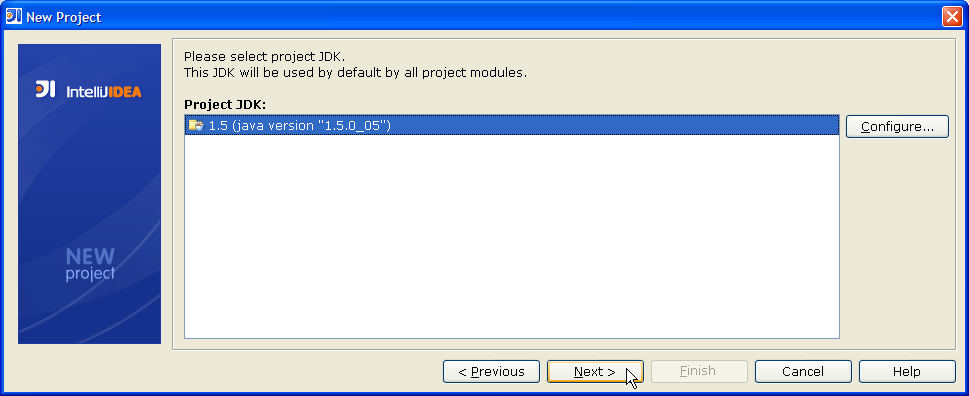
Step 3: In the next wizard screen, select the Java Software Development Kit (JDK). BEAM 3.3 requires JSDK 1.5 or higher. If no such is already specified in IDEA, click the button Configure… in order to specify one by simply selecting directory where the JDK is installed. IDEA will then import all required binaries, sources and API documentation automatically.
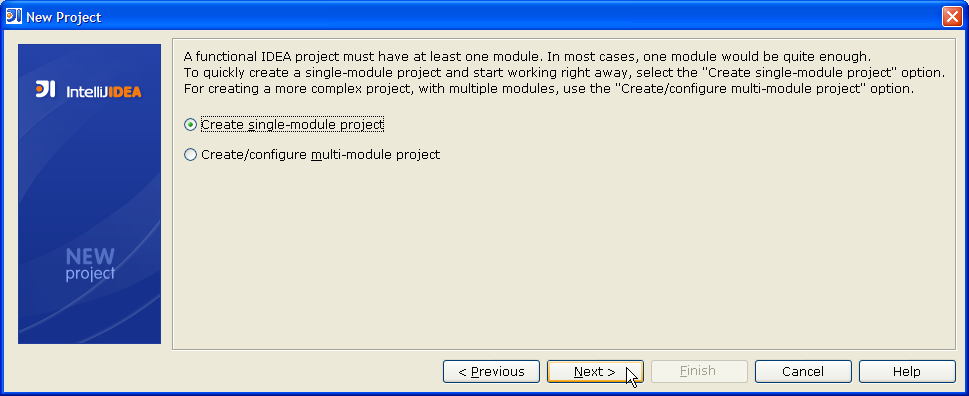
Step 4: Select single-module project. We can add more modules at any time later.
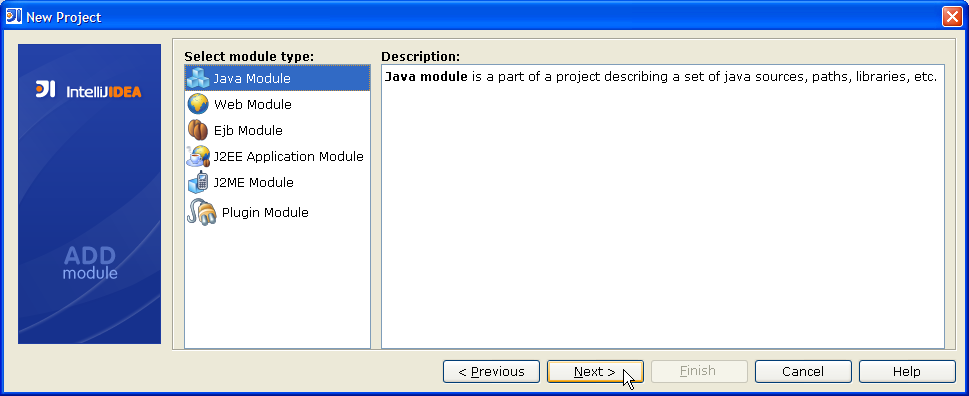
Step 5: Select module type Java Module. The other types are not applicable within this tutorial and even the IDEA notion of a module is not relevant for this tutorial. Simply notice, that IDEA projects can comprise more than one module which can be separately build.
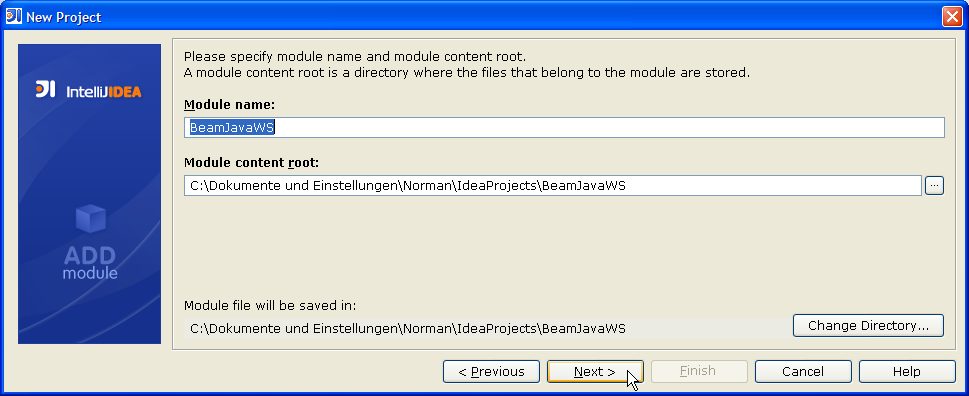
Step 6: We name our one and only module same as the project name BeamJavaWS
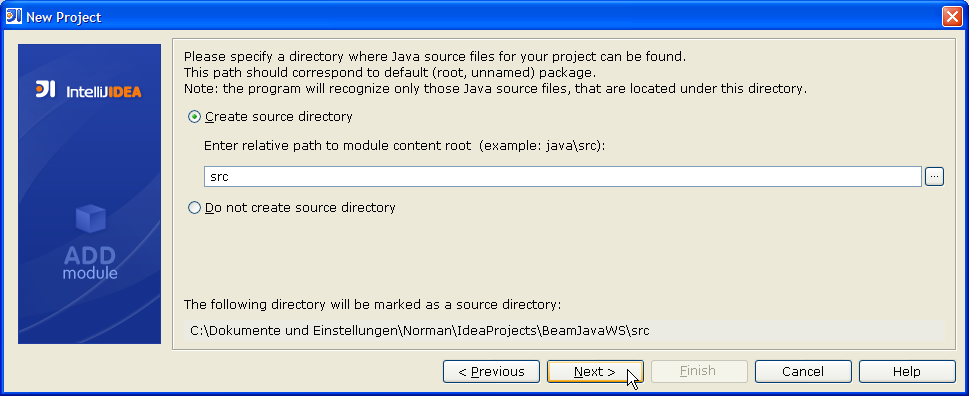
Step 7: We are going to save our Java source code files in the directory src
within our project folder.
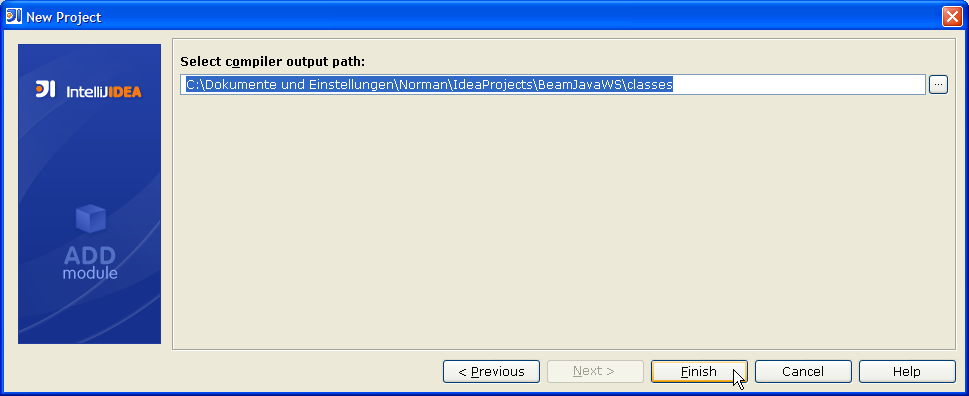
Step 8: The compiler shall output compiled class files in the directory classes
within our project folder. This is the last page of the wizard. After pressing Finish the new
IDEA project BeamJavaWS containing a single, empty module with the same name
BeamJavaWS is created.
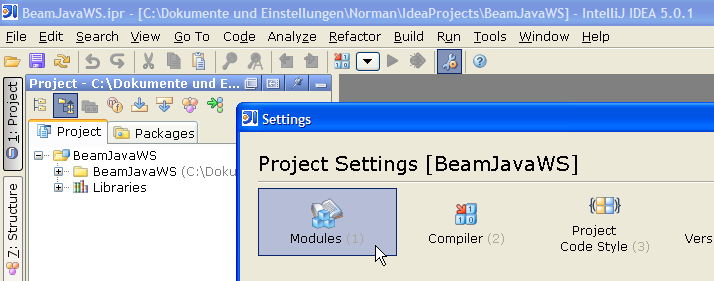
Step 9: Before we can start coding, we have to specify where the binary BEAM Java class files (JAR = Java Archives) are located. In the IDEA IDE, we can create a new Global Library which we can reuse over multiple projects. Other IDEs use similar concepts, e.g. in Eclipse these are called User Library. In order to create a new library click the button Settings in IDEA's tool bar:

In the Settings dialog, select the category button Modules:
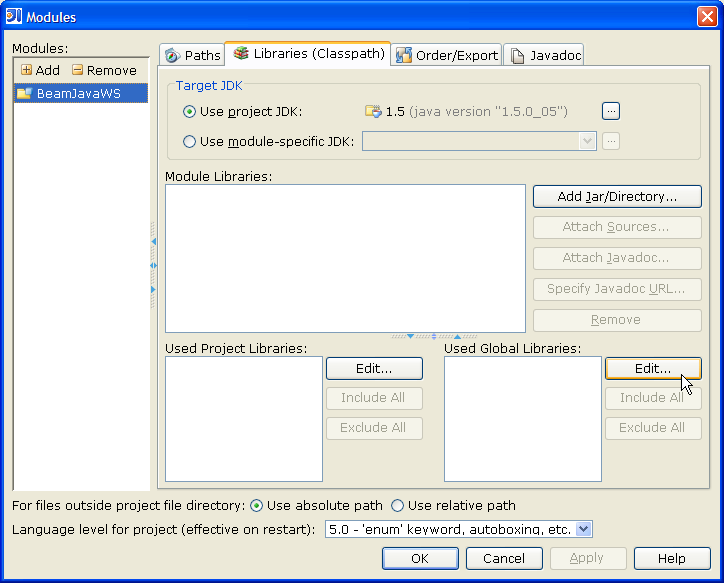
The Modules dialog pops up. Select tab Libraries and click the button Edit… in the Used Global Libraries group:
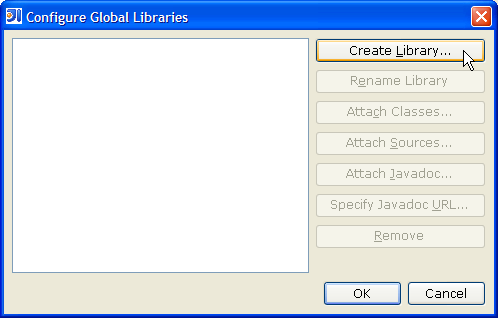
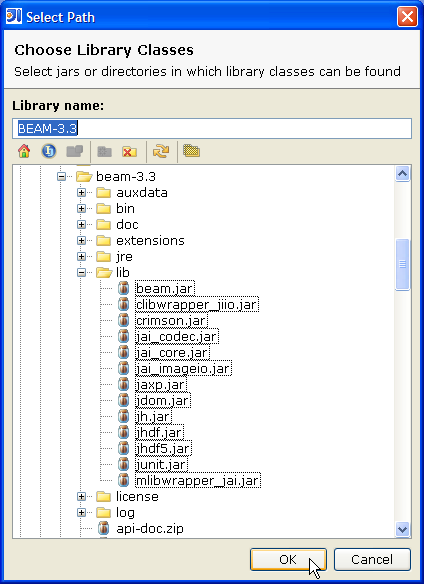
Step 12: Click the button Create Library… and enter library name
BEAM-3.3. Then browse to your BEAM-3.3 installation folder and select
all Java archives contained in BEAM's lib directory. Press OK.
 |
 |
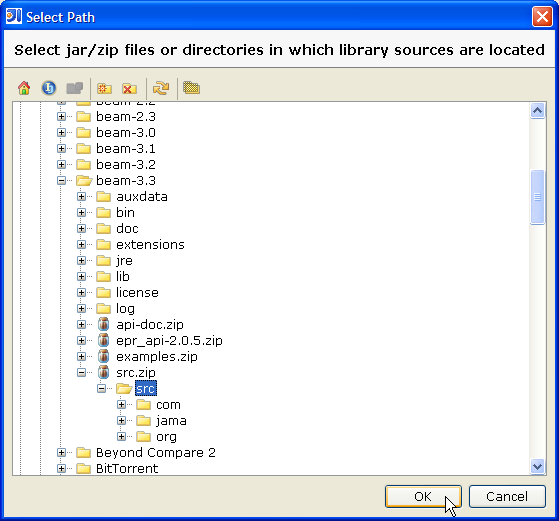
Step 13: Click the button Attach Sources… and browse to the file
src.zip in your BEAM-3.3 installation folder. Expand the src.zip
node and select the sub-folder src. Press OK.
 |
 |
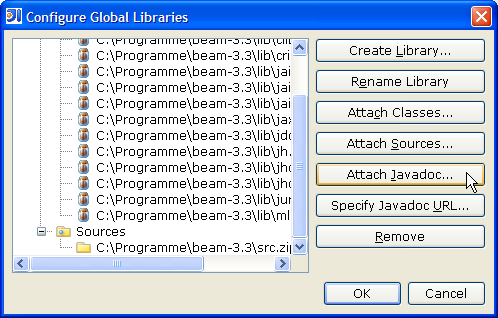
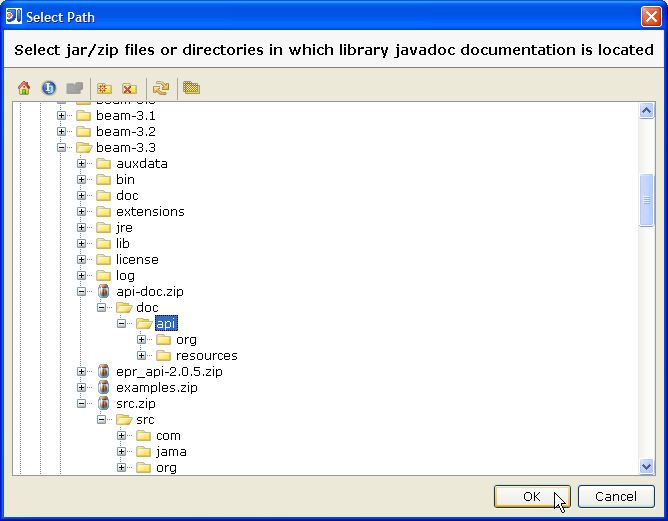
Step 14: Click the button Attach Javadoc… and browse to the file
api-doc.zip in your BEAM-3.3 installation folder. Expand the api-doc.zip
node and select the sub-folder doc/api. Press OK.
 |
 |
Step 15: Back in the Modules dialog, make sure that the global library BEAM-3.3 is selected. Press OK. The IDEA IDE is now set-up and we are now ready to start coding exercise 1.
© 2005 by Brockmann Consult - Need help? Contact beam minus issues at brockmann minus consult dot de